Manage Accounts
An account is a shared space you own or have joined. Open Braiins ID at identity.braiins.com, then select Manage beside Your Accounts to reach the Accounts page.
For an illustrated introduction, follow Alice and Bob in Understanding Braiins ID.
Your Accounts
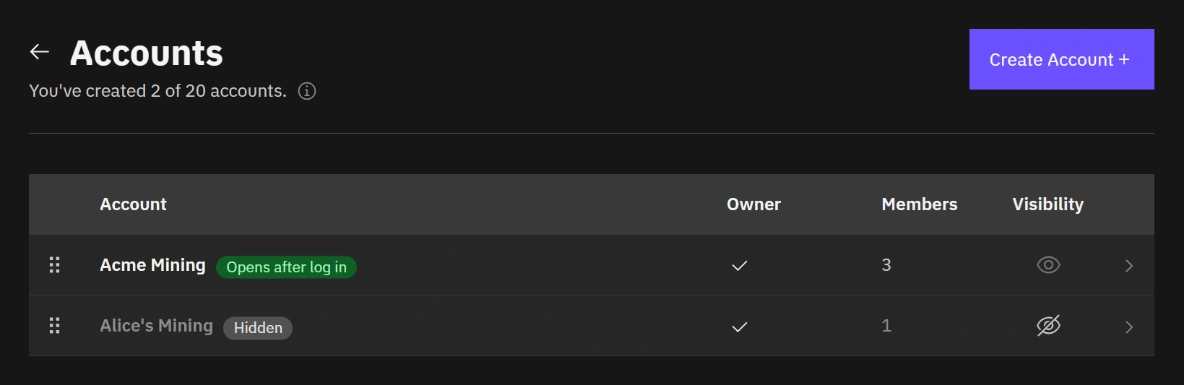
The Accounts page lists every account you own or have joined as one table, in an order you choose. Above it, Braiins ID shows how many accounts you have created and your limit.
Select an account name or its row to open its details.
Change the Order
Drag a row by its handle, or focus a handle and use the up and down arrow keys. Press Escape to cancel a drag.
The green Opens after log in badge marks the account your products open when you log in. To move it, open that account and select Account actions → Make default account.
Hide or Show an Account
Use the eye control in the Visibility column, or Account actions → Hide from account switchers on the account's own page. Hidden accounts stay in the list as muted rows with a Hidden badge; use the same control to bring one back.
Order and visibility are yours alone. They change nothing for other members, and hiding never closes an account or removes a membership. See Alice's example.
Create an Account
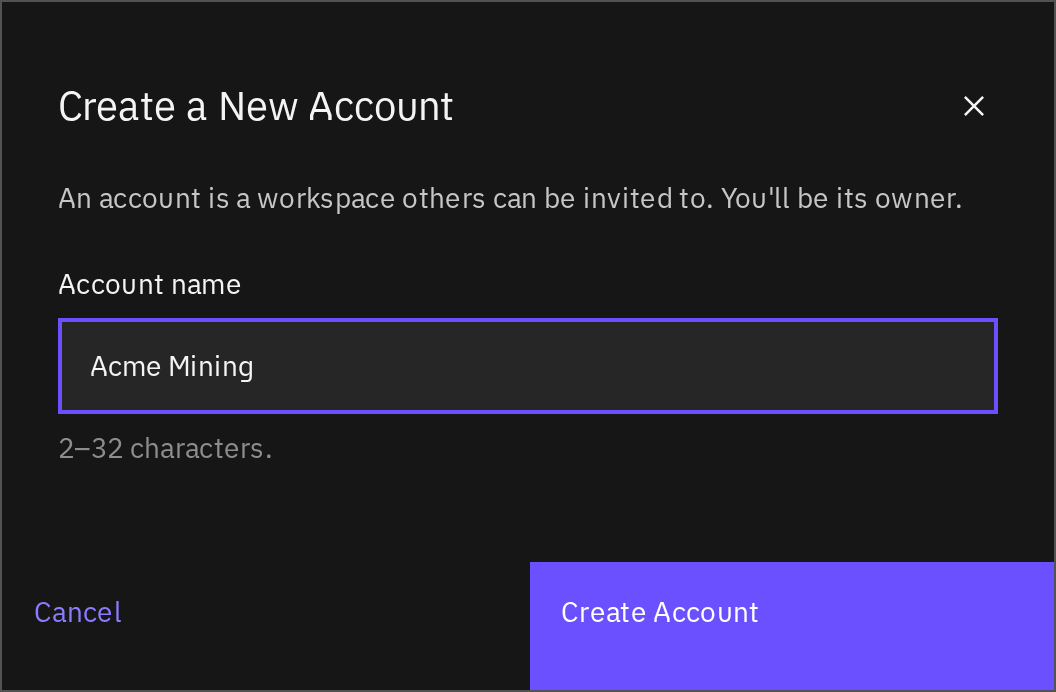
- Select Create Account on the Accounts page.
- Enter an Account name, such as Acme Mining.
- Select Create Account in the dialog.
- Check that the new account opens and its subtitle says You're an owner.
You can create up to 20 accounts. The count above the list shows where you are, for example You've created 2 of 20 accounts. Accounts you created still count after you transfer or leave them; accounts you join do not count. If you reach the limit, follow the message on the page or contact support.
Creating an account does not configure mining, move funds, or transfer data. Follow your product's setup instructions for those actions.
Account names are only labels. They exist to help you tell your accounts apart, and nothing else depends on them. They do not have to be unique: you can own two accounts with the same name, and other people can use that name too. Braiins ID identifies each account by a permanent account ID that never changes when you rename, so quote that ID rather than the name when you contact support. Account actions → Account details shows it with a copy button.
Open and Rename an Account
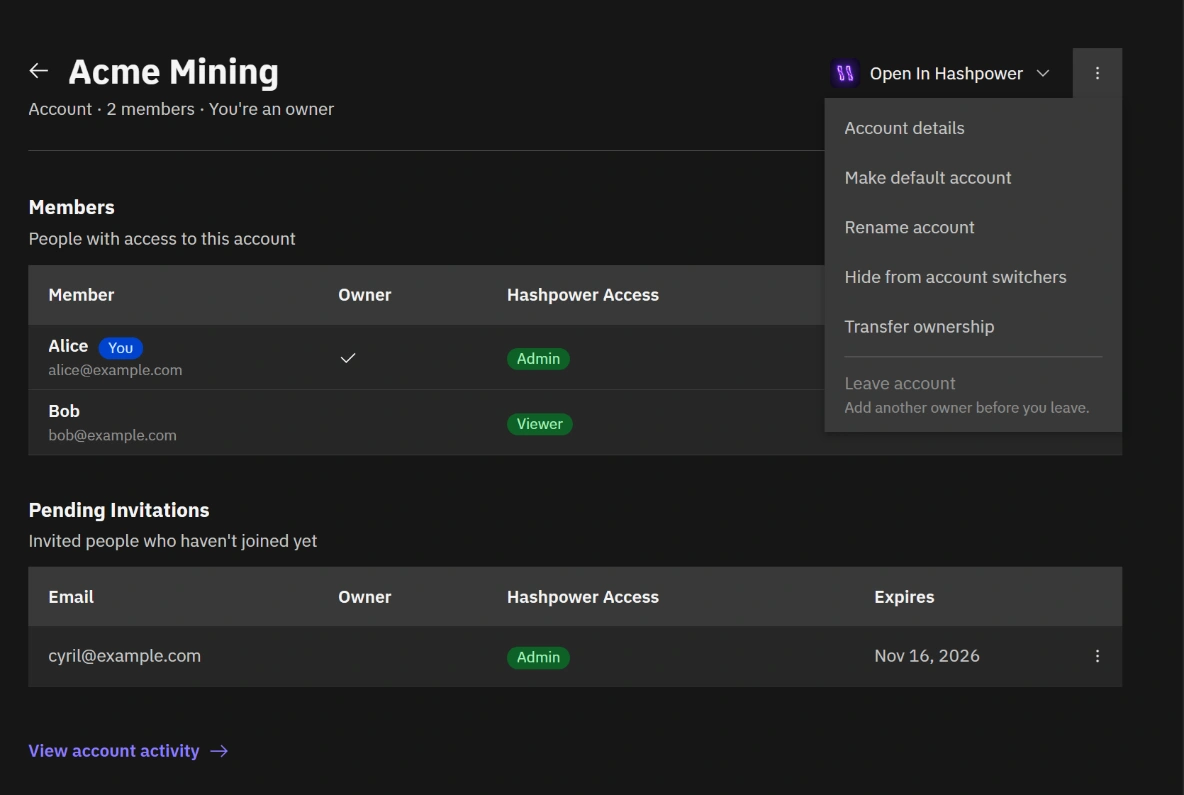
An account's page shows its name, how many members it has, and whether you are an owner. The Members table lists everyone with access:
The access column is named after the product it applies to, so here it reads Hashpower Access. Access is set per product, which is why it sits in its own column rather than beside the owner tick.
Owners also see Pending Invitations: people who have been invited but have not joined yet, the access they were offered, and when the invitation expires. View account activity opens the account's history, and Open In Hashpower opens the product in this account.
Account actions → Account details shows the account ID and your identity ID with copy buttons. Send them to support when you are asked to identify an account. The same menu holds Make default account, Rename account, Hide from account switchers, Transfer ownership, and Leave account.
To rename an account when you are an owner:
- Open the Account actions menu beside the heading.
- Select Rename account.
- Enter the new name and select Save.
- Check the heading and the Accounts list for the updated name.
Renaming changes the label only. It leaves the account, its membership, and everyone's access exactly as they were.
Leave an Account
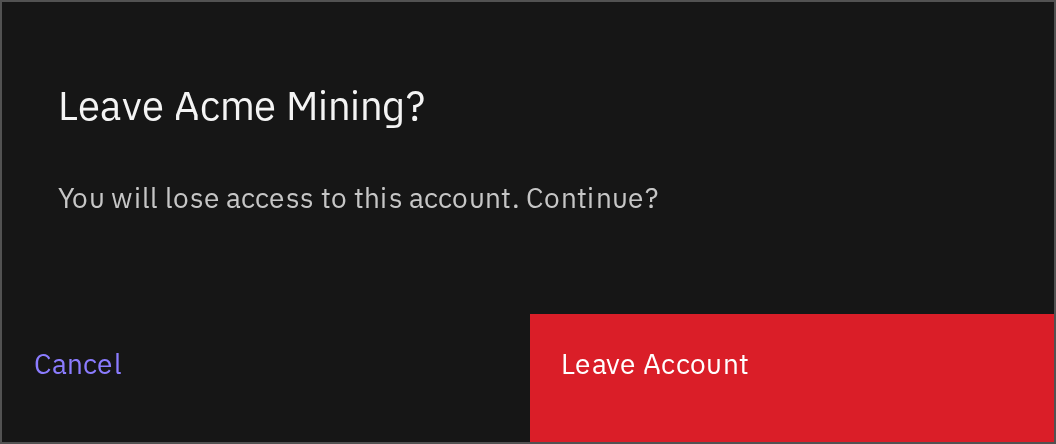
- Open the account's page.
- Open Account actions and select Leave account.
- Check the account name in the confirmation.
- Select Leave Account to confirm, or Cancel to keep your access.
After leaving, an owner must invite you again to restore access. Other members keep theirs. An owner can leave only while another owner remains — the menu says Add another owner before you leave until then. To hand the account over first, use Account actions → Transfer ownership. See Change a member's account role.
Close an Account or Your Braiins ID
Closing an account and closing your Braiins ID both go through support, because the accounts, memberships, and balances involved may need review. If you simply no longer need an account, you can leave it instead.
To close either one, open a support ticket and include the account ID from Account actions → Account details.
Coming later. Leaving an individual product, and closing your Braiins ID yourself, are planned but not available yet. Until then, support does both for you.
For team access, see Members and invitations.